Those who want to connect databases with Eclipse IDE. This will help you to learn step by step to establish a connection of database in Eclipse IDE. You have these software to connect database with Eclipse:
- Mysql.
- Mysql Connector jar file.
You can easily download these software from the given link this will save your time. These are :
Read also: How to install Android on your System with Eclipse IDE
When your download is completed then you have to follow some steps to establish a connection between database and Eclipse IDE. There are some steps to establish connection between database and Eclipse IDE:
Step 1:
First you have to install the Mysql 5.5 from the given link. Follow the instructions and install it. When installation is completed now you can access the Mysql on your system.
Step 2:
- Open Eclipse IDE.
- Go to Windows -> Open Perspective -> Others ->Database Development perspective.
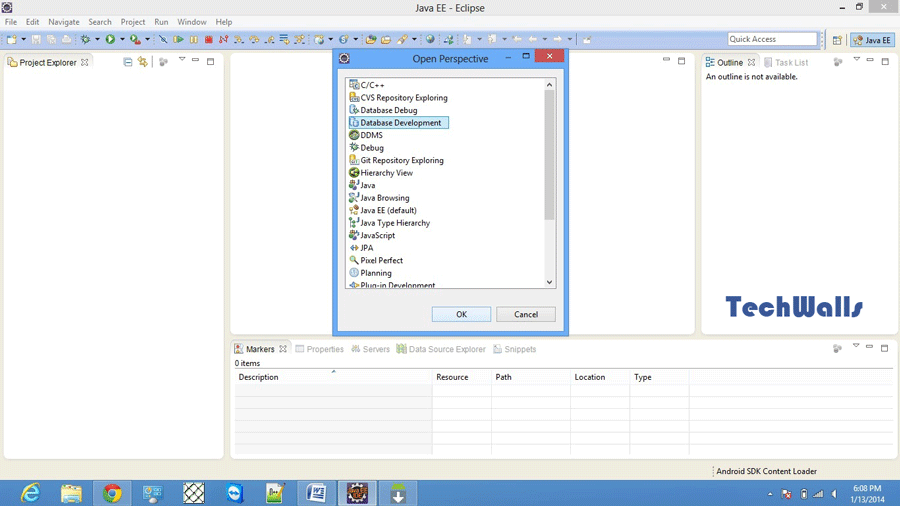
- Data Source Explorer is open.
Step 3:
- In Data Source Explorer -> Database Connections right click on it select new then new window is open. That window is new connection profile window.
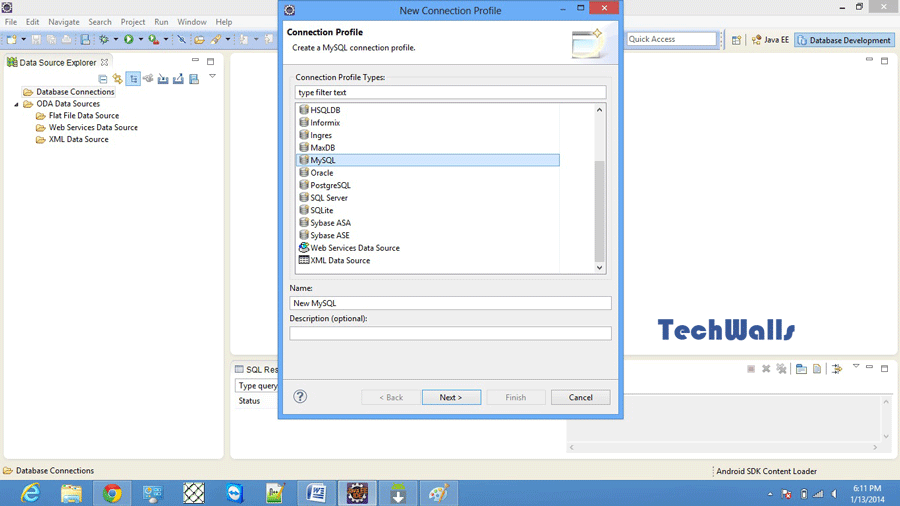
- In the New Connection Profile window. You have to select the “MySQL” Connection click on next button.
- New Driver Definition window is open. There are three tab options that are name/type, jar list, properties.
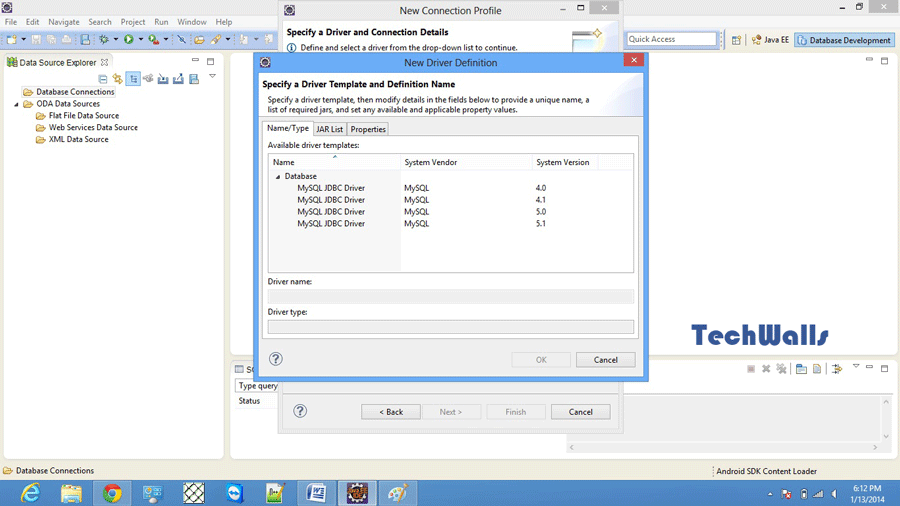
- In name/type tab Select the MySQL JDBC Driver version 5.1.
- On jar list tab add driver .jar file from the pakage that you downloaded and remove the default .jar that was added. Select that file and click ok.
Step 4:
- After second step is completed edit the connection properties. Change the database to actual database name that you want to connect. Put the username and password that you gave the name in MySql 5.5 installation. (For example username root password is nancy)
- Select the save password option.
- Select the Test Connection to check the connection is established or not.
- Ping connection is established then your connection is successfully established.
- Click finish button.
Now you are successfully connected MySql JDBC Driver with Eclipse IDE.
Hopefully this information is usefull for you
Thank you