Today almost everybody has a computer where one stores his/her personal and important stuff. Some love to travel a lot and they click pictures and shoot videos while others have some family stuff so store so that one can preserve their these valuable moments. But have you ever wondered if all your stored data on your Computer’s hard drive goes away? Your hard drive may crash it may be damaged to due physical effects and more.
Then all of your data will go forever and you have nothing. So what to do? We have a best and easy way to preserve your data. Wondering how? Have you ever heard of online storage spaces? Yes, so use them. Are you thinking whether they are safe? Yes, they are unless you share it any one.
Right now there are many online storage services in the market. But I recommend you never store all of your data at a one place so better use Google Drive to back up your videos and photos. You can use other services too.
Right now I use Google Drive to back up important photos, videos and data, Flickr to upload all of my video and photos and Drop box for Documents only. You can also use them in same way.
Note: Backups are for your eyes only. so never share your private data with anyone
Backup videos and photos to Google Plus
As you want to back up your videos and photos to Google Plus for that you need a Google account and Google Plus app. You can access the same from web browser of your system or you can download it on your device from App Store. Google Plus is avail at all major OS’s such as Android, iOS and Windows Phone 8.
STEP 1:
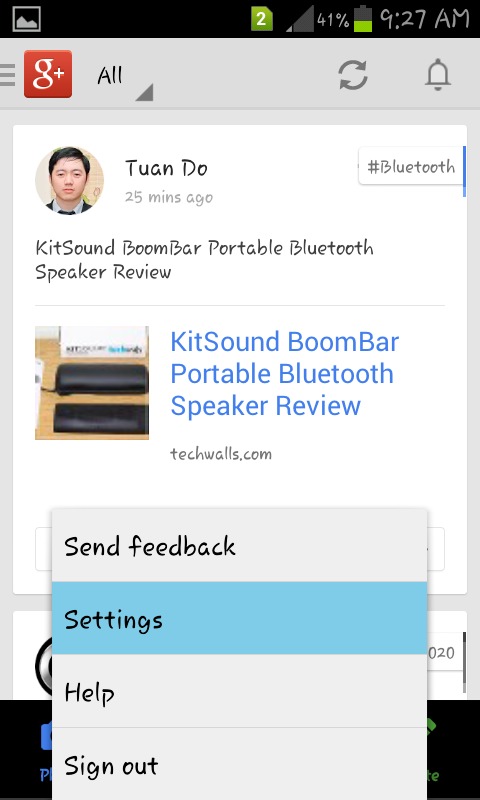
In your Google Plus, go to settings option.
Worth to Read:
- Google Plus gets update, now feature amazing features
- Set Custom URL / Username for Google Plus Profile
STEP 2:
Click on Auto Back up option in General Settings tab.
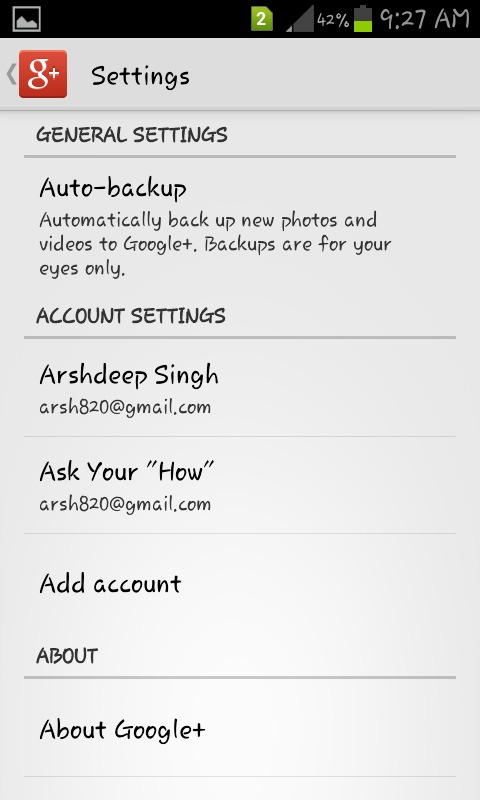
Note: enabling Auto Backup will use Mobile data which may incur charges.
STEP 3:
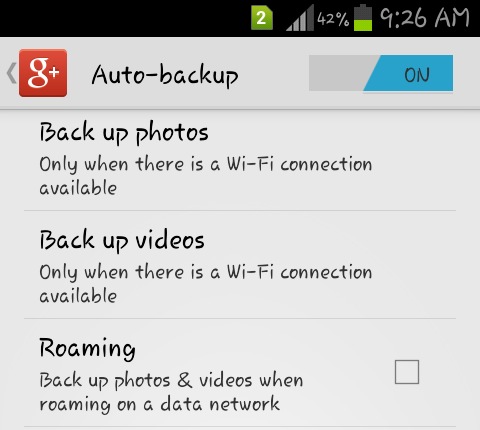
There you will see off icon on top, swipe it to turn it on. Now Google Plus will ask you about the account for which you want to activate auto back up in case you have multiple accounts.
STEP4:
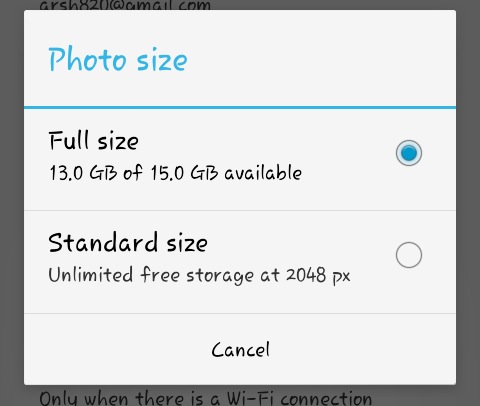
That’s all. Now you can easily auto back up your photos and videos. Though there are many other options which will help you. You can view your available storage space which can be expanded up to 1TB. You can even select the option to back up your photos and video on Wi-Fi only.
STEP 5:
You have an option to upload your existing videos and photos to Google Plus in one go.
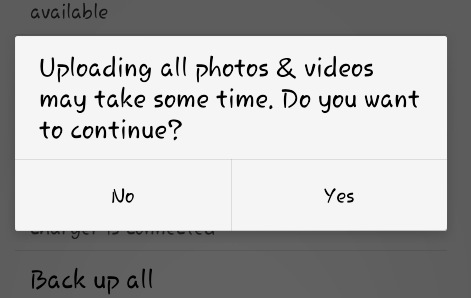
These are some steps by which you can back up your photos and videos to Google Plus. If you still face any difficulty then don’t hesitate to ask. Keep an eye on blog as I am going to write tutorials for other services too such as Drop Box, Google Drive, Flickr, Sky Drive and more. If you have something in mind, simply tell in comments.
Disclosure: We might earn commission from qualifying purchases. The commission help keep the rest of my content free, so thank you!



amarnath says
Auto backup works but the backup photos get deleted when I delete the same in the gallery. How should I come out of this problem?
misty says
I have turned on auto back up for my photos and videos and connected to wifi, but my videos are not being backed up???
chris says
Hi I do this but when I go to view the photos in a album the photos will not load, there is only a buffering/ loading sighn
I don’t know what to do please could you help