Drop ceilings, also known as suspended ceilings, are a popular choice for many commercial and residential spaces due to their adaptability and ease of maintenance. One of the main components of these ceilings is the tiles, which come in various materials, including fiberglass and vinyl. If you’re considering switching from fiberglass tiles to vinyl, you’re in the right place. My fiberglass tiles started showing some issues like sagging and mold growth, so I had to replace them immediately with the Genesis Smooth Pro White 2x4ft Lay-in Ceiling Tiles. This guide will provide you with a step-by-step breakdown of how to replace the tiles.
Why Switch to Vinyl?
Before diving into the process, let’s briefly discuss why you might choose vinyl over fiberglass:
- Durability: Vinyl tiles are known to be more resilient than fiberglass tiles. They resist moisture, mold, and mildew, making them a great choice for damp locations like basement or kitchen.
- Aesthetics: Vinyl tiles offer a smoother finish and a variety of design possibilities.
- Maintenance: Vinyl is easier to clean and tends to show fewer stains than fiberglass.
Materials and Tools Required:
- Vinyl ceiling tiles (measure your space to determine the quantity and size)
- Utility knife or scissors
- Ladder
- Safety glasses and gloves
- Tape measure
- Pencil or chalk for marking
Steps to Replace Tiles

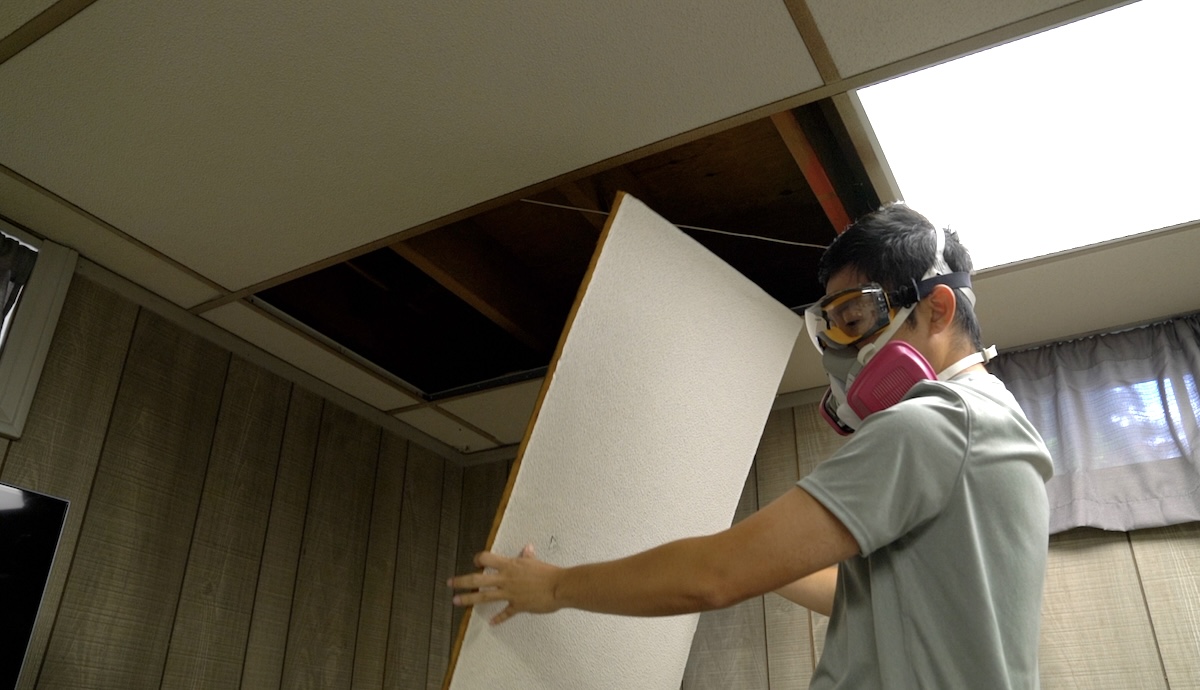
- Safety First: Before starting any work, ensure you wear safety glasses and gloves to prevent injuries. It’s also a good idea to wear old clothing as the fiberglass fibers can be irritating.
- Remove the Fiberglass Tile: Begin at one corner of the room. Ascend the ladder and carefully lift the old fiberglass tile by its edges out of the grid system. Gently tilt it to slide it out. Continue this process for all the tiles you wish to replace.
- Inspect the dropped ceiling framework: Examine the metal grid for any signs of damage, rust, or bending. Ensure that the T-bars are straight and aligned correctly. If you find any damaged sections, you might need to replace or repair them before proceeding. Also examine the hangers that support the grid from the true ceiling or floor joists above. Ensure that they are securely fastened and that they show no signs of wear or damage. Loose or damaged hangers can cause the ceiling to sag or, in extreme cases, collapse. The Genesis Smooth Pro weighs just over 5 lbs per tile, so I also don’t need to add more hangers.
- Measure and Cut the Vinyl Tile: If your new vinyl tiles aren’t already the right size, you’ll need to trim them. Using the old fiberglass tile as a template, trace the correct size onto the vinyl tile using a pencil or chalk. Then, use a utility knife or scissors to cut along the markings. Make sure the cuts are clean to ensure a snug fit.
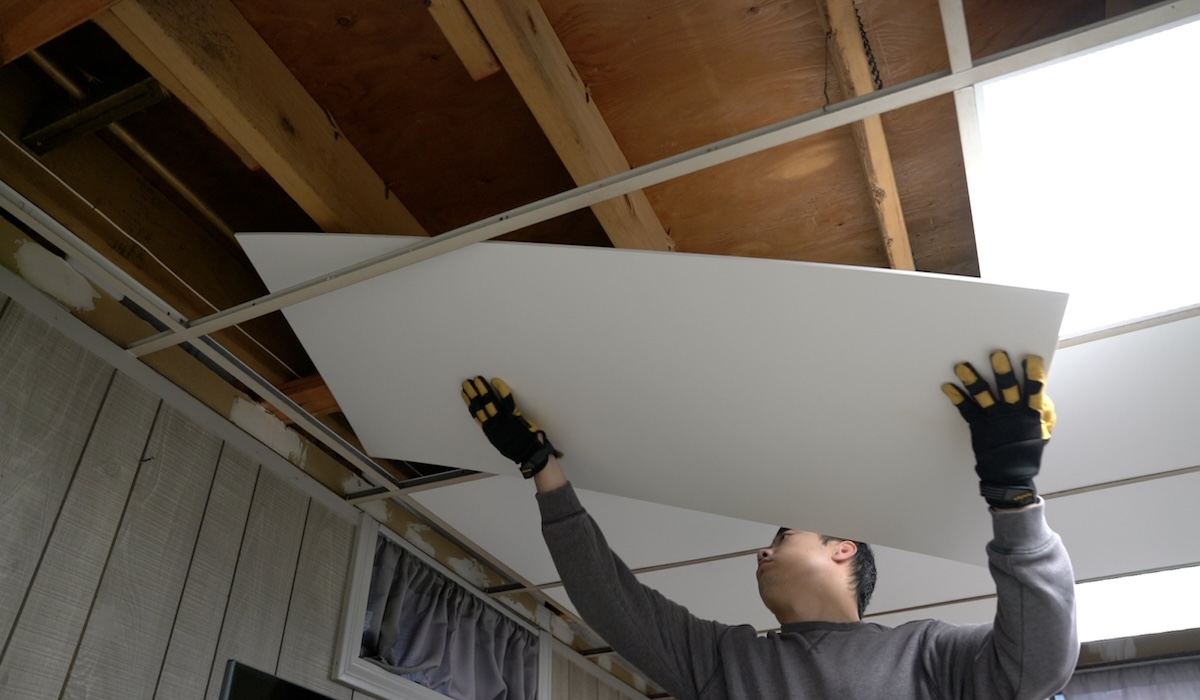
- Install the Vinyl Tile: Once the vinyl tile is ready, position your ladder underneath the grid where you’d like to place the tile. Lift the vinyl tile and angle it slightly to fit into the grid. Once inside, let it lay flat. It should fit securely within the grid system.
- Continue the Process: Repeat the measuring, cutting, and installation process for all tiles until you’ve replaced all the desired tiles in the room.
- Inspect Your Work: After you’ve installed all the vinyl tiles, take a step back and inspect the ceiling to ensure every tile sits flush within the grid and there are no gaps.
- Clean Up: Collect all discarded fiberglass tiles and dispose of them following local regulations. Since fiberglass can be irritating, make sure to wash your hands and any exposed skin thoroughly after handling it.

Final Thoughts:
Transitioning from fiberglass to vinyl tiles can provide both functional and aesthetic benefits. With a bit of patience and attention to detail, this DIY project can transform the look and feel of any room. Always prioritize safety and ensure you’re working in a well-ventilated area when handling fiberglass tiles.
Buy Genesis Smooth Pro Tiles on Amazon
Disclosure: We might earn commission from qualifying purchases. The commission help keep the rest of my content free, so thank you!


