After installing Mohawk Home vinyl plank flooring in my bathrooms, I continued with the Golden Arowana Waterproof HDPC Vinyl Wide Plank in Macchiato for my bedrooms. I gave Golden Arowana a try because I used them before and the planks still look great after 2 years. I bought all the planks from Costco as they had a great discount at that time. This guide will walk you through the installation process.
A clean, level subfloor is essential for a smooth installation. Begin by removing carpet or any existing flooring and thoroughly cleaning the surface. Make sure the subfloor is dry, clean, and free of debris, as dust or dirt can affect the plank’s ability to lock securely. If the subfloor has high or low spots, use a leveling compound to even out the surface.
Allow the vinyl planks to acclimate to the room’s temperature and humidity by leaving them in the room where they’ll be installed for at least 48 hours. This prevents any expansion or contraction after installation.
Golden Arowana Planks often come with an attached pad, so you don’t need additional underlayment. Begin in the left corner of the room. Place spacers along the wall to maintain a 1/4″ expansion gap between the planks and the wall. This gap allows the floor to expand and contract with temperature changes. Lay the first plank with the tongue side facing the wall. Join the next plank at an angle and then lay it flat to lock it in place. Continue this process for the entire first row, ensuring the planks are securely locked.
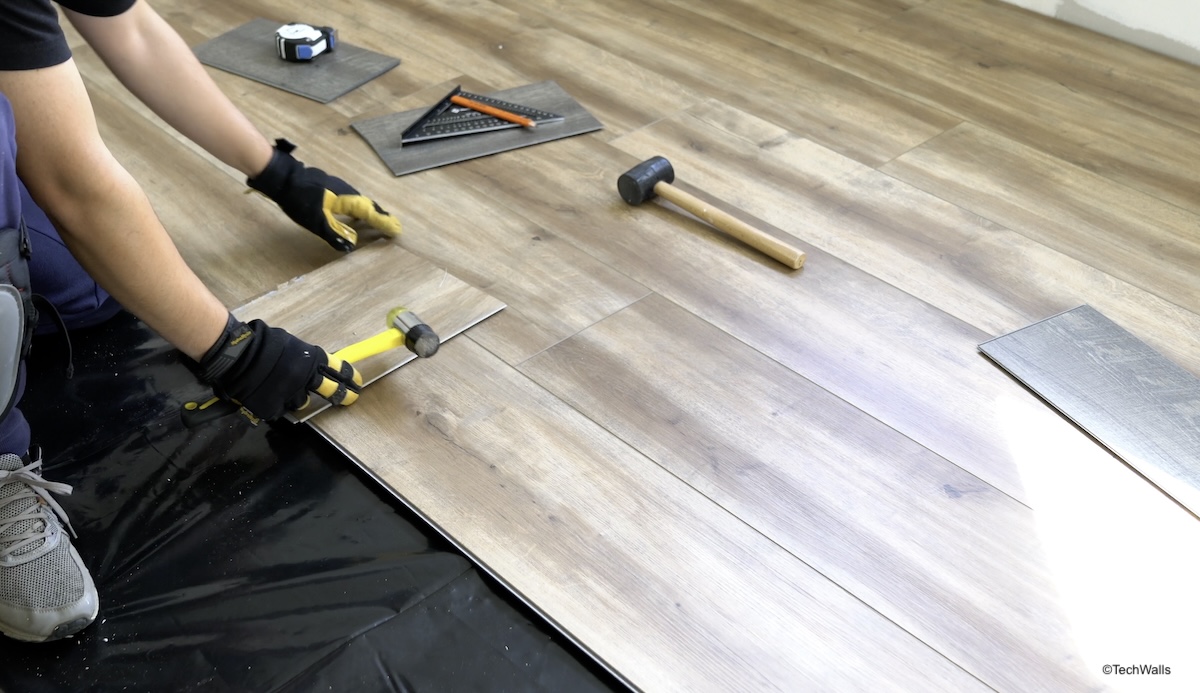
At the end of each row, you’ll likely need to cut a plank to fit. Measure the length needed, mark it on the plank, and use a utility knife to score and snap the plank. Start the second row with a plank that’s at least 6 inches shorter or longer than the first row. This prevents repetitive seam patterns and strengthens the overall structure of the floor. Attach the second row to the first. Angle the plank into the groove of the previous row and gently tap it with a spare piece and rubber mallet for a tight fit.

To lock a plank to the one on the left, begin by aligning the new plank with the row above it, ensuring the top edges are flush. Push the plank all the way to the left, fitting its end tongue into the groove of the previous plank. Next, place a spare piece of flooring directly on top of the joint to protect the surface. Using a rubber mallet, gently tap the spare piece straight down, which helps the plank click securely into place with minimal effort. This method is noticeably easier than the Uniclic system on Mohawk Home planks, as it avoids the challenge of angling the plank to engage the lock.
Work your way across the room, row by row, cutting and fitting the planks as needed. Keep an eye on the staggered seams and ensure the expansion gap remains consistent with the spacers.
Installing Golden Arowana Waterproof HDPC Vinyl Wide Plank is a manageable DIY project that can transform your home. By following this step-by-step guide, you can achieve a professional-looking installation that will last for years.


