Ductless mini-split heat pumps have gained popularity in recent years due to their energy efficiency, flexibility, and ease of installation. Heat pumps can provide up to 300%-400% efficiency, meaning for every unit of electricity used, 3-4 units of heat are generated. I’ve used oil to heat my house and the oil furnace is at the end of its life (nearly 30 years). The furnace typically has an efficiency rating between 80-90%; This means that a significant amount of energy is lost as waste heat, resulting in higher energy bills. I was so desperate when my oil bill can go up to $800 per month in the winter.
Therefore, I did not hesitate to make the switch from oil furnace to a heat pump. After receiving some ridiculous quotes from local HVAC companies (around $30,000), I decided to install the system by myself. The MRCOOL 4th-Gen DIY 4-Zone Heat Pump is a popular option for homeowners looking to heat and cool multiple zones in their home without the need for ductwork. We’ll discuss the real cost and installation time of the system.
Total Cost
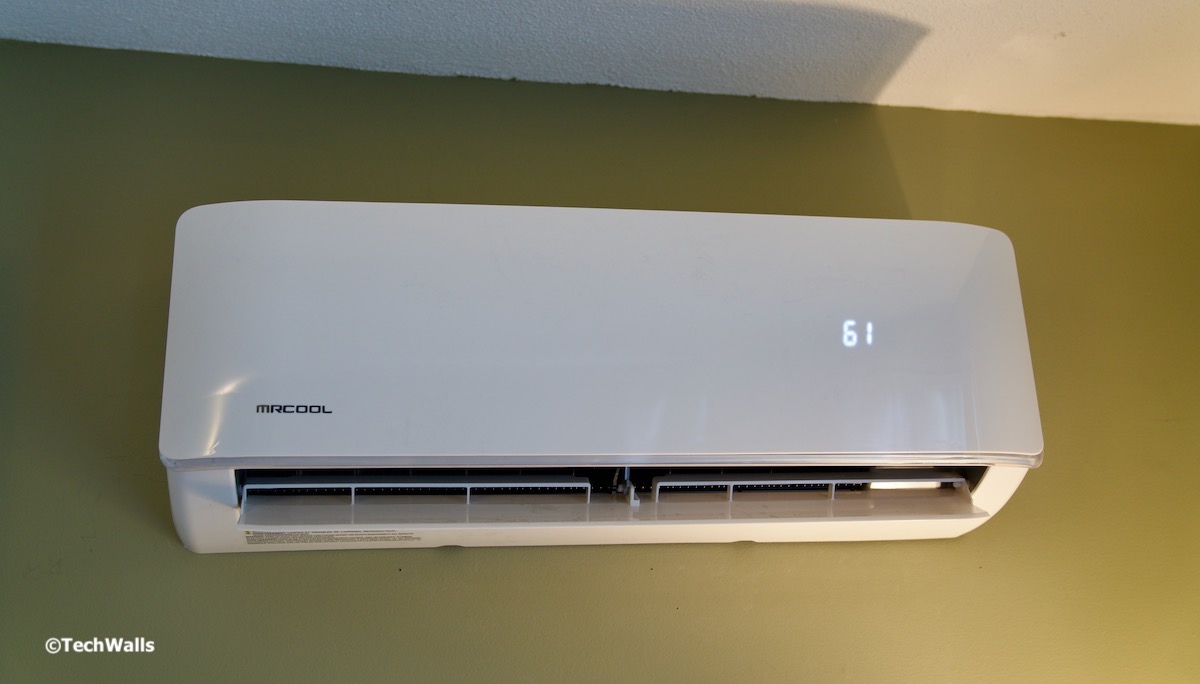
My MRCOOL DIY Heat Pump comes with four indoor air handlers, one outdoor unit, and 4 line sets. As of the time of writing, the MRCOOL DIY 4-Zone Ductless Mini-Split Heat Pump is priced from $4,500 to $8,000 before tax. The prices vary depending on lengths of line sets and heating/cooling capacity. My unit cost $6,500 after tax.

However, the cost of the unit is just one component of the overall cost of installing a ductless mini-split system. Other costs to consider include:
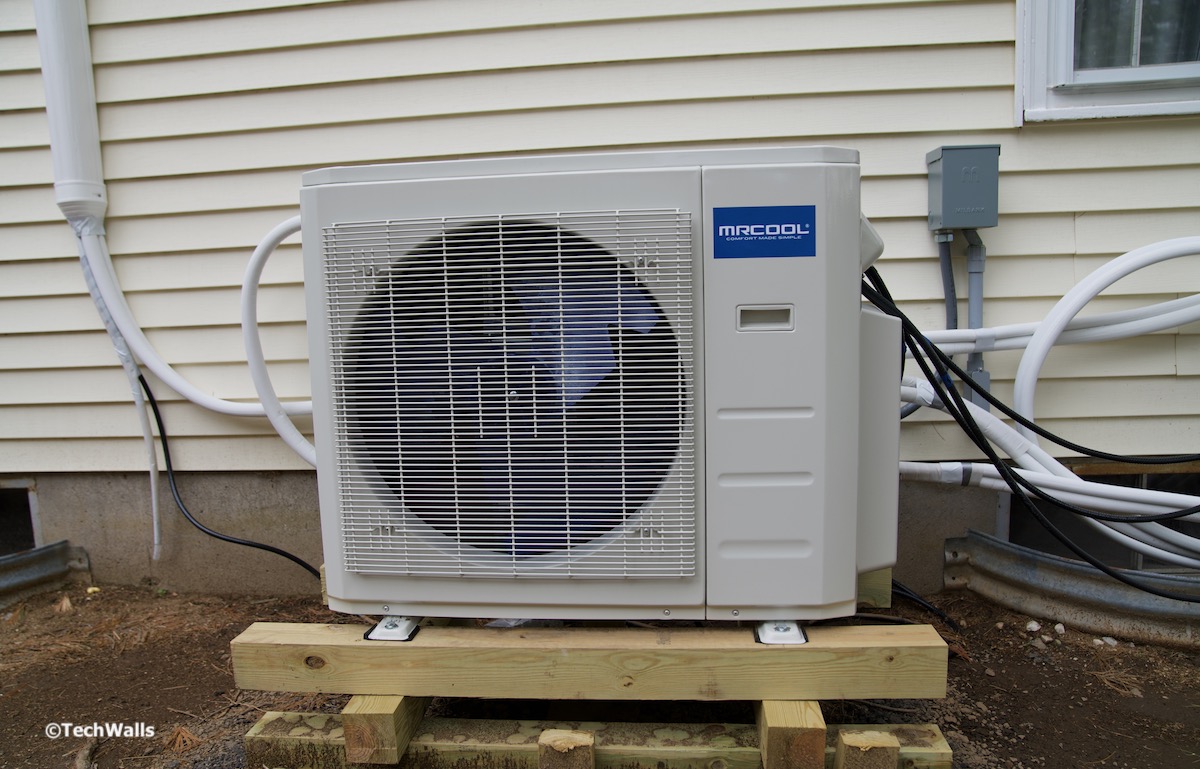
- Additional Components: Installation costs can vary depending on the complexity of the installation, the location of the indoor and outdoor units, and any additional components needed. MRCOOL provides almost all necessary parts to install the system including wall sleeves, UV tapes, drain hoses, or communication cables, but homeowners still need to buy a hole saw, lineset covers, adjustable wrenches, and a drill/driver. I also made my own stand for the outdoor condenser using 4×4 pressure-treated wood posts. The total cost for those extra parts and tools is less than $500.
- Electrical: A licensed electrician is required to install the electrical components of the system. The cost of electrical installation can range from $500 to $4,000, depending on the complexity of the job. I had to upgrade my service panel from 100A to 200A and install an outdoor disconnect box. The total was $3,800.
- Permits: Depending on your location, you may need to obtain a permit for the installation. The cost of the permit can vary depending on the location. Mine is $200 for the electrical and mechanical permits.
When all costs are considered, my total cost of installing the MRCOOL Heat Pump is approximately $11,000 before any tax incentives. If you want to take advantage of federal tax credits, you should check for qualifications before making the order.
Installation Time
One of the benefits of the MRCOOL DIY Heat Pump is its ease of installation. The unit is designed to be installed by homeowners with basic DIY skills. However, installation times can vary depending on the complexity of the installation and the number of indoor air handlers.

Here’s a general breakdown of the installation time for the MRCOOL DIY Heat Pump:
- Pre-installation: Before beginning installation, you’ll need to gather all of the necessary tools and materials. You’ll also need to choose the location for the indoor and outdoor units, and determine the routing of the line set. This step can take anywhere from 2-4 hours.
- Indoor unit installation: The indoor units are mounted on the wall and connected to the line set. The installation of each indoor unit can take 1-2 hours. For four units, it could take up to 8 hours.
- Outdoor unit installation: The outdoor unit is mounted on a solid surface and connected to the line set. I built a wood stand for the condenser instead of buying an expensive stand. The preparation and installation of the outdoor unit took me 4 hours.
- Connecting line sets: You will need to connect the provided line sets to the air handlers and the outdoor unit using adjustable wrenches. Then cover them with sound-deadening pads, insulation, and UV tapes. I also use lineset covers to improve overall appearance and long-term durability. Besides, I run the drain hoses inside my crawl space, so I had to use some PEX pipes to ensure that the water exits properly. The whole process took me about 6 hours.
- Electrical installation: A licensed electrician will need to install the electrical components of the system. The electrical installation can take 2-4 hours. I also needed a new service panel and it took a whole day to install it.
- Final inspection: Once the installation is complete, you should turn on the system and check for leaks in every connection of the line sets. A final inspection will need to be performed to ensure that the system is installed correctly and meets local code requirements. The inspection can take 1-2 hours.
Overall, the installation time for the MRCOOL Heat Pump took me about 34 hours to complete. I worked on the project for a few hours per day and it took me more than 2 weeks.
It’s important to note that while the system is designed for DIY installation, it’s always recommended to have a licensed HVAC professional perform the inspection to ensure that the system is installed correctly and to avoid any potential safety hazards. This is a great option for homeowners looking to save money on their energy bills. The system is highly energy efficient and can save homeowners a lot of money on their cooling and heating costs.


