Android is the king of customization. Being open source gives great opportunity to the developers to customize the OS in any way they want. If a developer doesn’t like any stock ROM then he/she has the enough freedom to create his/her own ROM according to his/her needs.
As Google know that all the developers can’t afford those high end devices to test their apps, ROMS etc company has even launched Nexus line up to help them. Recently Google introduced another line up named Google Play Edition which includes top of the line devices from various manufacturers which come with unlocked boot loaders and affordable price.
What is MultiROM?
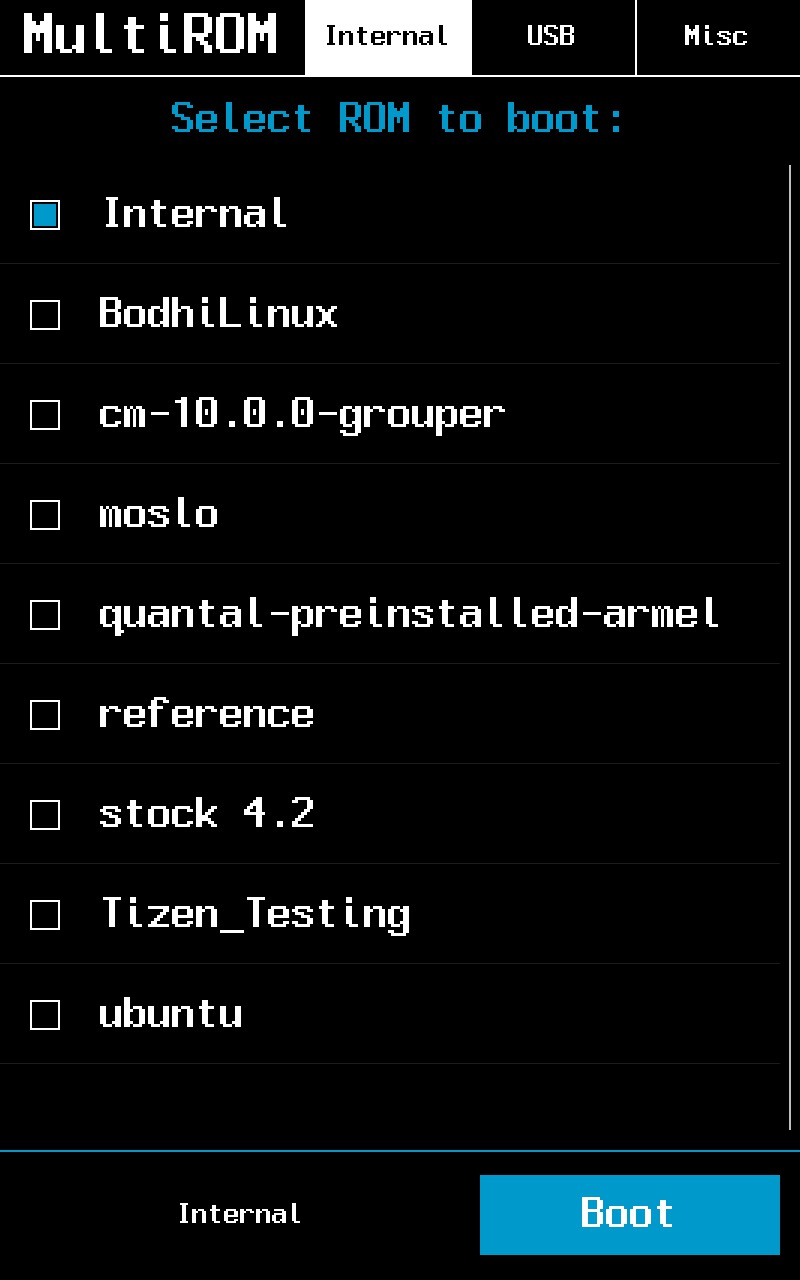
Recently a developer over at XDA has made a MultiROM tool which allows you to boot multiple ROMs along with your Android ROM. Right now you can boot Ubuntu Touch, Plasma Active, Bohdi Linux or WebOS along with Android.

Another feature of MultiROM is that you can boot ROMs from any USB drive connected to the device with USB on the Go cable (In case your device supports that) along with device’s internal memory.
How to switch between ROMs?
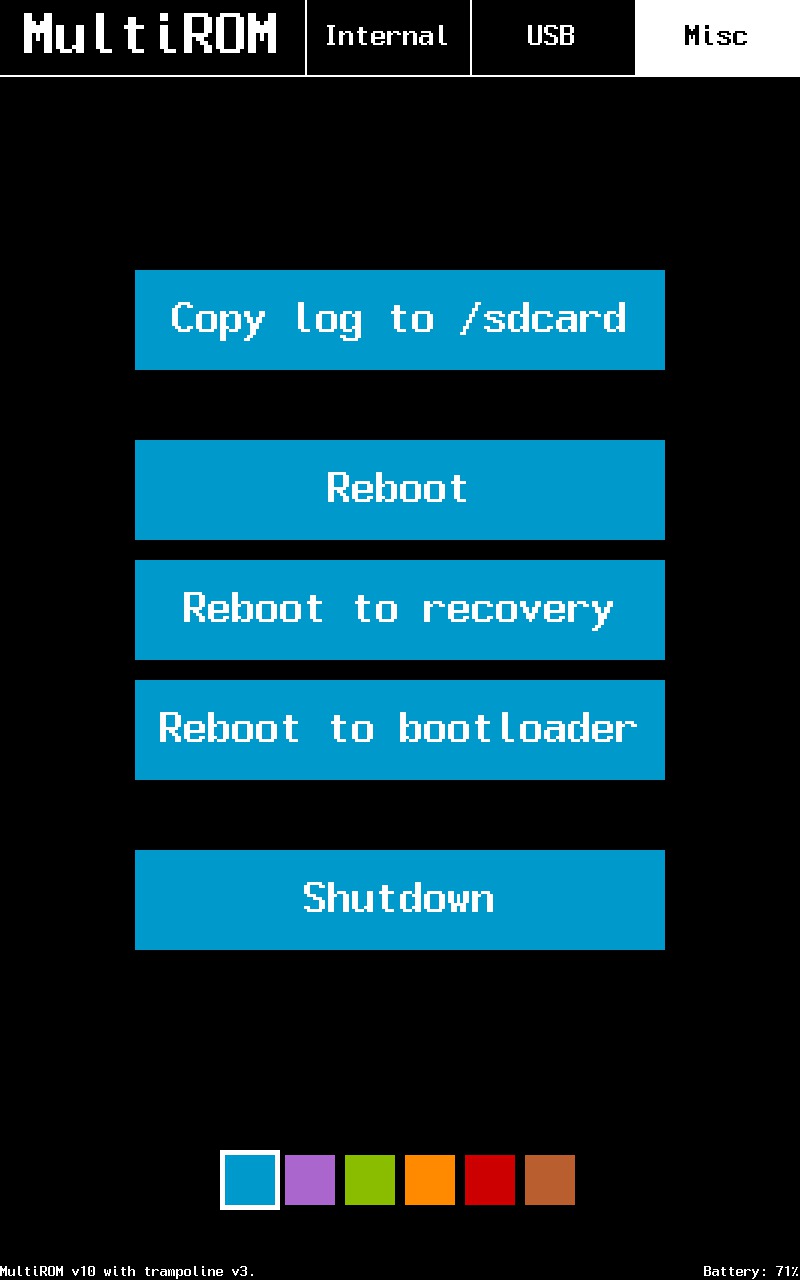
If you are wondering that how you will switch from one ROM to another then need not to worry. Every time you will start your phone a boot manager will show up and asks you about the ROM which you want to use.
Installing:
MultiROM has one of the easiest and simplest instructions to install. All you need to do is to install this MultiROM application from Google Play Store whose link is given at the end of this paragraph. Then you need to select MultiROM and recovery on install/update card. Tap on Install/update card for installation to begin.
MultiROM Manager
Downloads:
Head over to this XDA thread where in downloads section you will find the list of custom Kernels, ROMs for Android. Select the one which you find interesting.
XDA Thread: Nexus 7 2012
XDA Thread: Nexus 7 2013
ROMS:
To install Android ROM follow the following steps:
- Head over to recovery.
- After that select Advanced, followed by MultiROM then Add ROM. Select the ROM’s zip and install.

Now we are going to install Ubuntu ROM for Nexus 7 2012 only (2013 model doesn’t support it at this time):
To Install Ubuntu Touch ROM you will have to use your MultiROM Manager app which is present on Google Play Store. Then select install Ubuntu Touch from various options. After that select the version which you want to install from various options we prefer 13.10 because it is stable build. Then tap on install button and that’s it.
Finally we are going to install Firefox OS for 2013 Model only (2012 model doesn’t support this right now):
- You will have to download system User Interface files from this link
- Then transfer these files to your internal storage or on USB Drive connected with USB TOG cable.
- Then go to Recovery then Advanced, followed by MultiROM and Add ROM.
- Now select ROM type as Android and don’t share kernel then select the zip file which you downloaded earlier and transferred.
- When installation completes, again go the recovery, Advanced, MultiROM then List of ROMs. Here select the Firefox OS ROM then flash ZIP and choose UI ZIP file.
And that’s it.
You have a Nexus 7 running on Android, Ubuntu Touch and Firefox OS all at the same time. Isn’t that amazing? If you get into trouble simple ask us.


Caio Ribeiro Pereira says
Is there a way to install firefox os into Nexus 7 2012??