The TourBox Lite is the most affordable version within the TourBox series. Building on the strong base and positive feedback received by the preceding models, the TourBox Neo and TourBox Elite, this edition was particularly built for digital artists who loved the TourBox concept but were hindered by the price of the higher models. As a result, the TourBox Lite is competitively priced at $94.99, making it an appealing choice for those seeking the best editing console under $100 to enhance their creative workflow.
The TourBox is designed as a peripheral console for digital drawing, editing audio, photo, and video. It’s engineered to work with virtually any software that supports keyboard shortcuts. For the purposes of our review, we tested it with Final Cut Pro, testing its efficacy in streamlining the workflow for professionals.
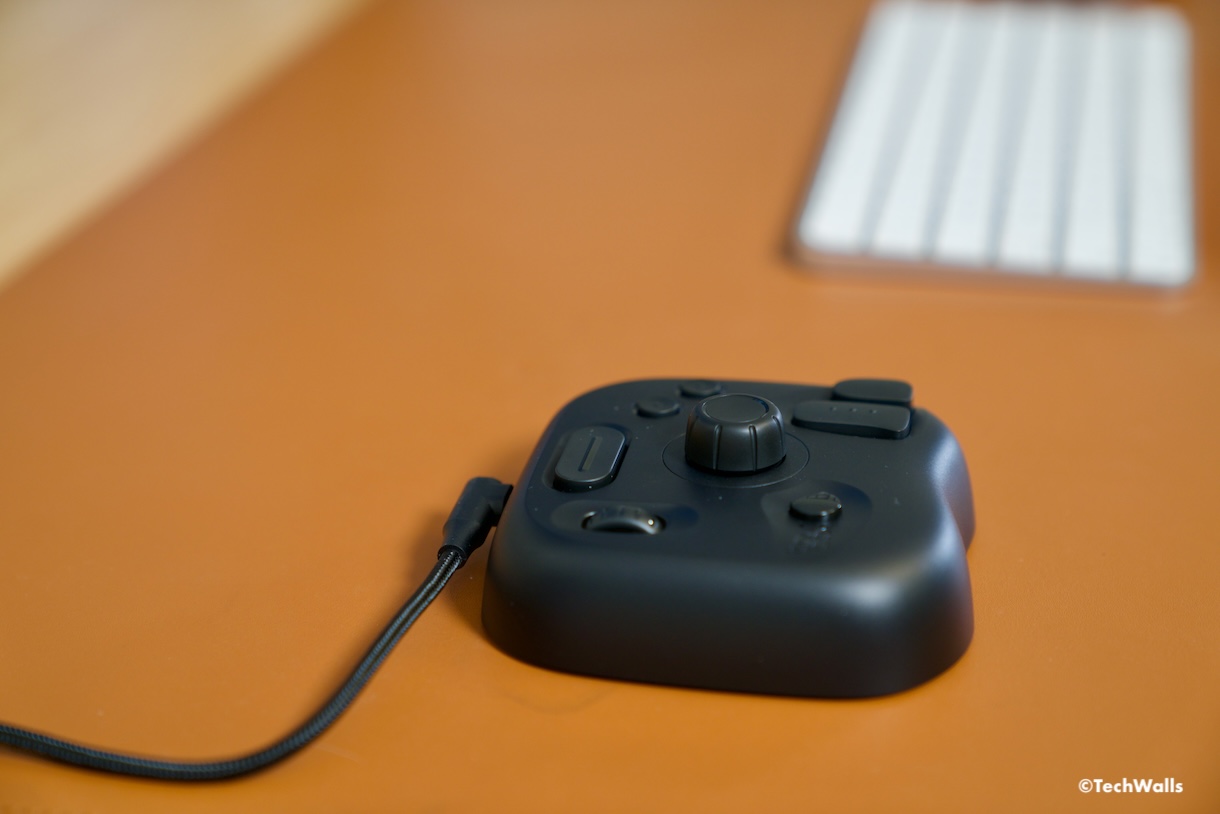
After taking the product out of the box, I was quite impressed at how dense the Lite is. I thought being the cheapest Tourbox, the Lite wouldn’t have good build quality but it actually feels solid and heavy. This is probably because it’s designed to stay stationary on your desk. Included in the box is the Lite, a user manual, quick start guide and a USB-C cable with attached USB-A adapter.
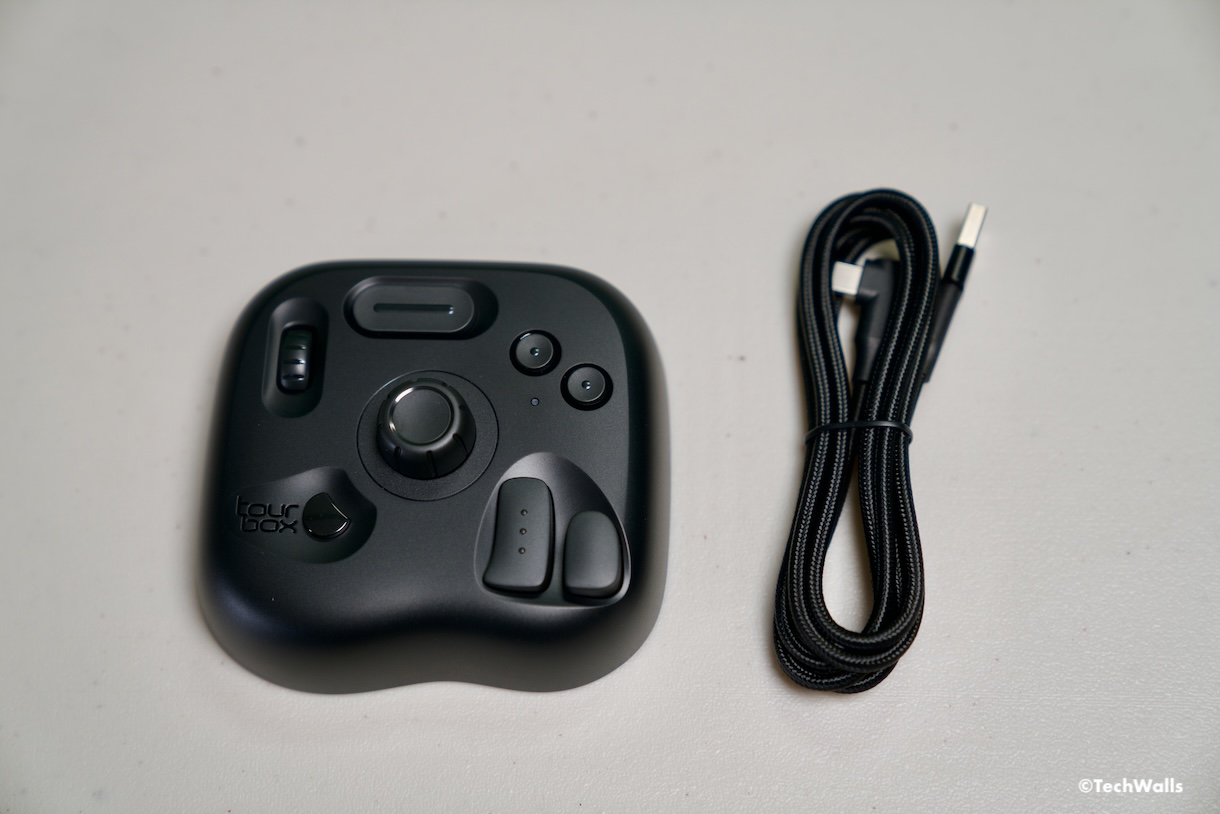
As a tactile interface, the Tourbox includes 6 large buttons which click like a mouse and come with minimal travel. As compared to the Tourbox Elite, the Lite lacks the side button, the bottom-left dial, and the D-pad. Besides, it also doesn’t provide haptic feedback when turning the wheels. On the Elite, I really loved the haptic feedback as it provides soft vibration and audible clicks when turning wheels, knob, and dial. Another shortcoming is that the Lite requires a wired connection to your computer while the Elite can work wirelessly.
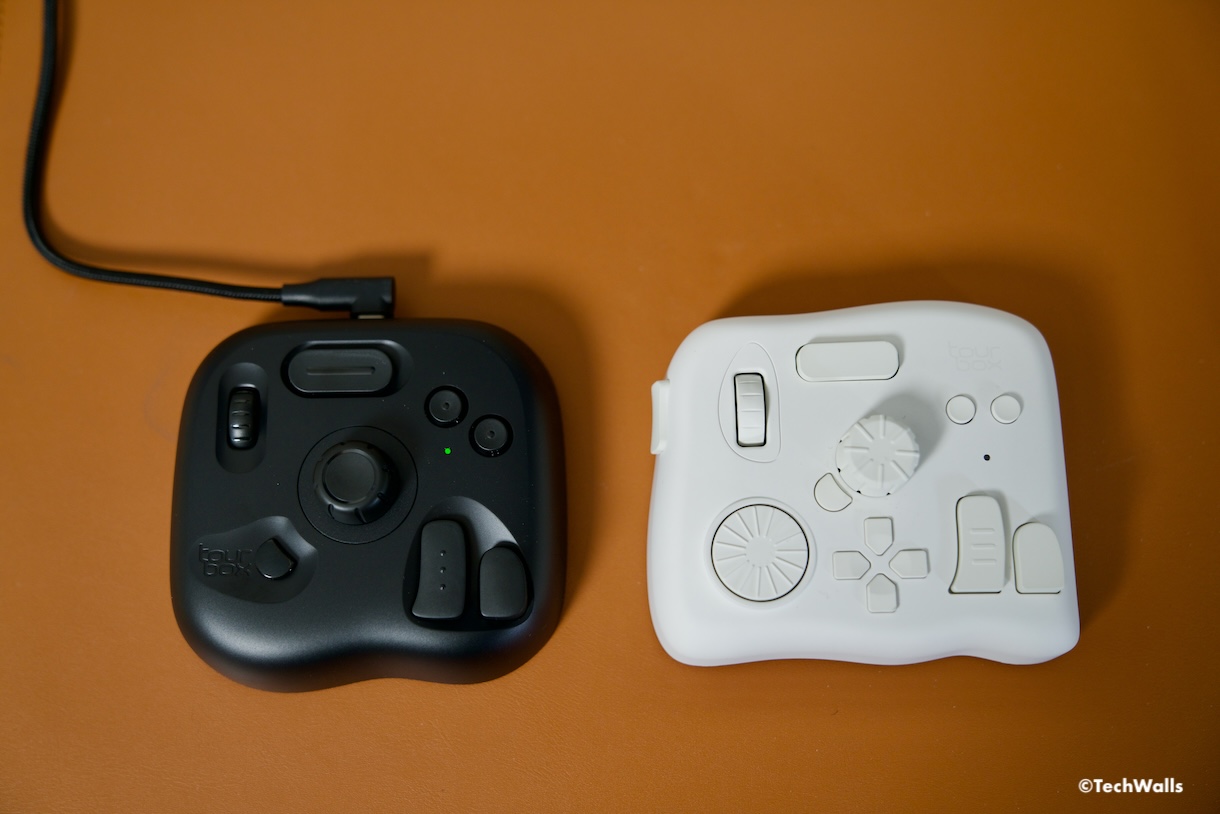
As the Lite doesn’t have haptic feedback, the main central knob feels a little loose and less engaging. The scroll wheel on top left feels good in terms of resistance and it is also clickable, so you can assign additional function to it.
To get started, you will need to download and install the Tourbox Console app which is available for Mac and Windows; At this time, it doesn’t support Android, iOS or Linux. Notice that the app is not officially available on the App Store, so you will need to download from its own website. Besides, it requires permission to control your computer in Security & Privacy preferences. You will have to grant the access for automating actions and interacting with other applications. Apple recommends to grant access only to apps that you know and trust, so you should do it at your own risk. I’ve used the Tourbox for over a year and had no problem so far.
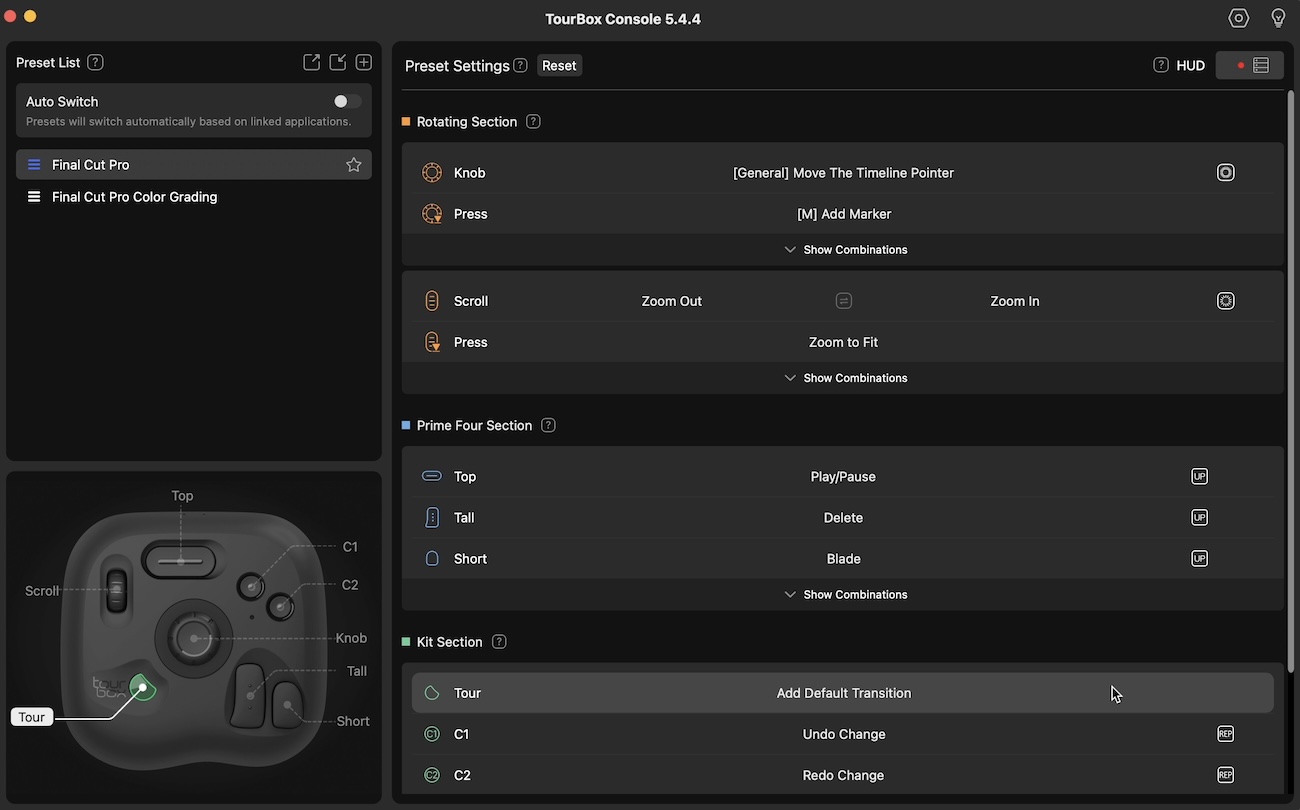
Then you can connect the Tourbox to your computer via the USB-C cable and start using it. The Tourbox offers a number of different buttons, wheel, and knob of different sizes and shapes that can be used on their own or combined with each other. You can set up functions corresponding to keyboard shortcuts in your app. Each app can have their own set of key functions and they will be switched automatically when you switch between apps. The Tourbox Console app has a responsive and intuitive interface. You won’t need to read the manual to know how to use it. Once you open the app, you can easily add a preset with shortcuts for common programs like Adobe Lightroom, Photoshop, Premier or Final Cut Pro; And it’s easy to customize the buttons for different purposes. I actually really like the presets for Final Cut Pro and didn’t have to make significant adjustments.
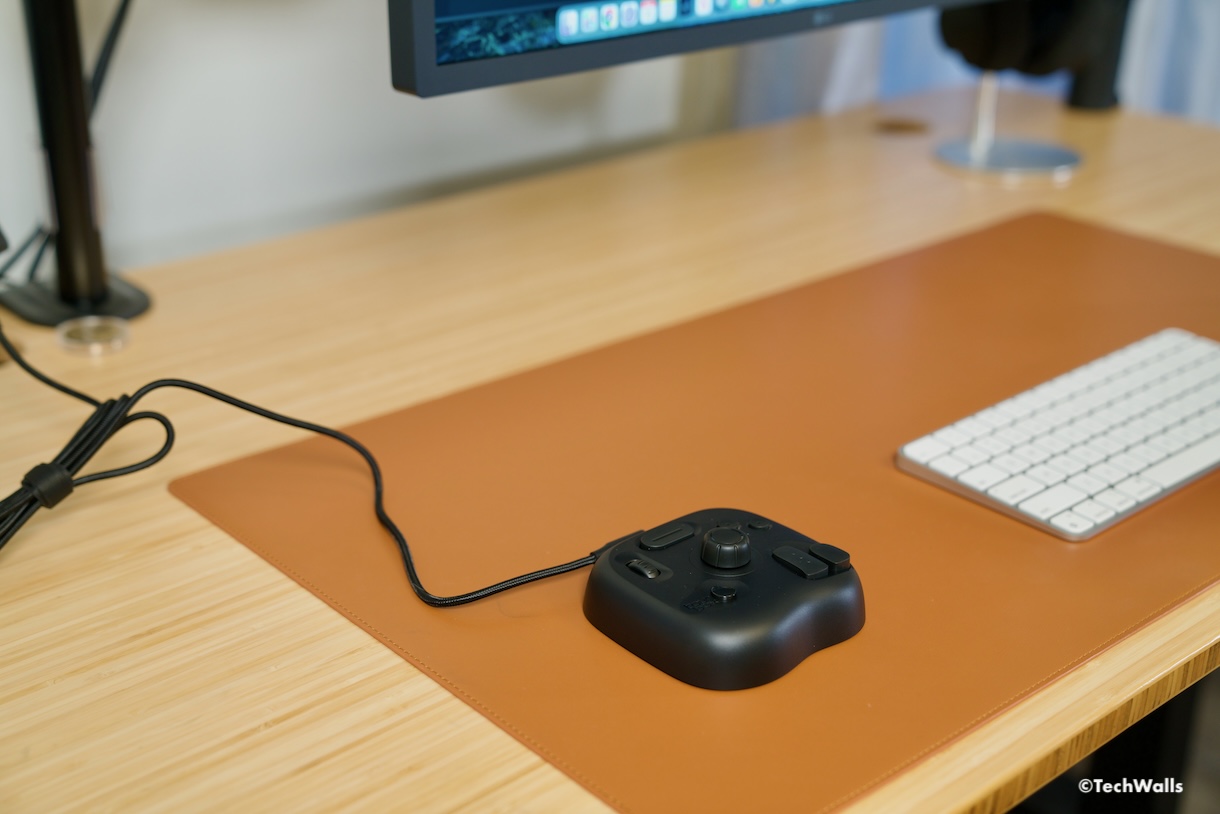
I’ve found the main knob most useful for scrubbing through the timeline in Final Cut Pro, or changing the size of a brush in Photoshop. The mouse-like wheel at the top left I’ve assigned in Final Cut Pro to zoom in and out of the timeline, and press on the wheel to fit the whole timeline to the window. The large buttons, Tall and Short, can be assigned to Delete and Blade respectively. The C1 and C2 buttons are assigned to Undo and Redo which are extremely helpful. If you need to make any change, you will just need to click on the button, find shortcuts in the list or just press the shortcuts that you want to assign to that button. You should tweak the presets over time for the most used commands, instead of trying to set them up all at once. If you happen to forget functions of any key on the Tourbox, you can turn on the HUD which shows all keys/combinations and their corresponding functions on the right side of your screen.
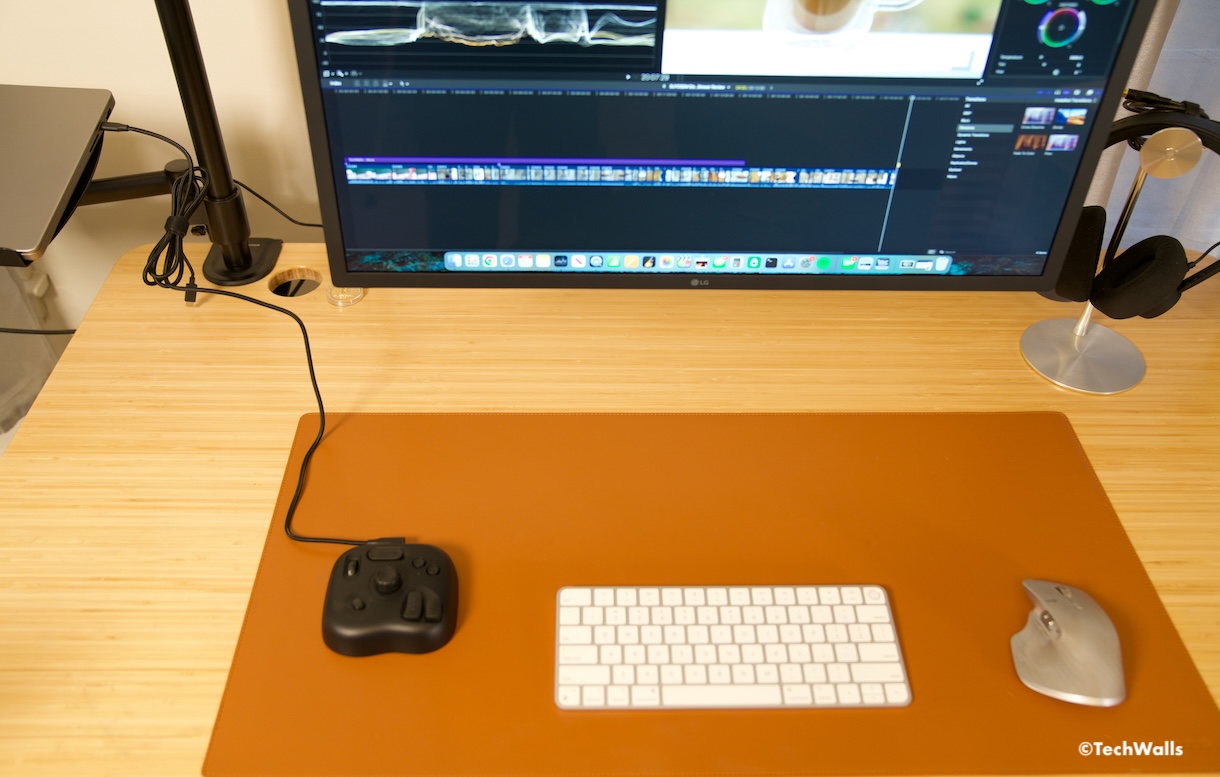
With my right hand on my mouse, the Tourbox can easily be used with my left, which is the way it was designed. And while it should ultimately speed up your workflow, there is a learning curve if you are a first-time user. I already used the Tourbox Elite, so it took me no time to get used to the Lite.
During the edit, I was constantly scrubbing back and forth through a timeline, zoom in and out to make sure a clip is precisely where it needs to be. The Tourbox has saved me a lot of time as I no longer have to move the mouse or look on the keyboard to find the right shortcuts on my keyboard. Some shortcuts even require pressing 3-4 keys at the same time. When each action saves me a second or two, these add up when I edit videos for a whole day and help me complete the work earlier than expected. I almost can edit a whole video without touching the keyboard; I just reached out to the keyboard occasionally to type in titles or name markers. The workflow is more efficient and ergonomic as compared to using keyboard shortcuts. The way of controlling a virtual tool with tactile buttons and dials on a physical controller is much more satisfying. Ergonomically, I ease the strain on my wrist and fingers; That was a serious issue when I had to work all day long.
The software also has a new function called TourMenu which gives you quick access to some commonly used tools. You can choose whatever function to add to the menu and then you can just press a button to call up the menu. This is not really important for my everyday usage because I already have all of my shortcuts assigned to the Tourbox’s buttons.
For some programs like Premiere Pro or Capture One, they also developed integrations based on TourMenu to achieve faster color-grading workflow. But TourBox doesn’t support this function in Final Cut Pro at this point using their TourMenu. However, the team at TourBox did tell me that they’ve finished the color-grading integration for Final Cut Pro, so you guys should expect to see it soon.
Pros
- A variety of tactile buttons
- Solid build
- Detachable cable
- Compatible with many apps
- Low price
Cons
- Requires permission to control computer
- Lack of haptic feedback
Again I have to emphasize that I use the TourBox Lite primarily to navigate the timeline, zoom in/out, undo/redo, blade, or trim a clip; It is not useful for color grading in Final Cut Pro at this point but just those basic buttons have saved me so much time because I do those actions over and over again when I’m editing. It saves me a few minutes for a simple projects and my left hand is not longer suffering from wrist fatigue when pressing keyboard shortcuts. All of those benefits cost less than $100, so we highly recommend the product.
